

Tin Box Manufacturing: From Packaging Brief to Reliable Delivery
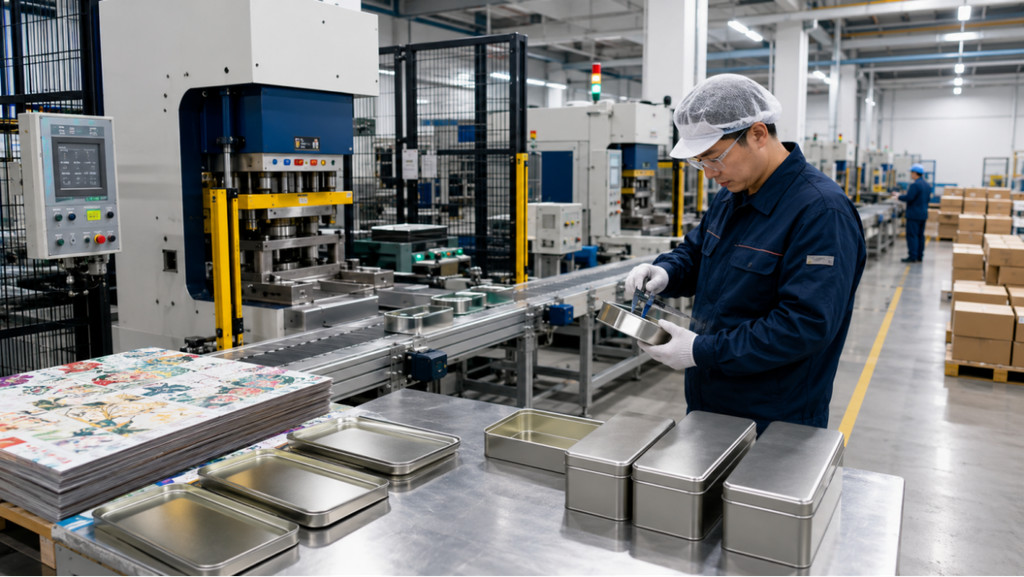
Tin box manufacturing turns a flat packaging concept into a formed metal product through a sequence of interdependent decisions. Dimensions affect tooling, tooling affects artwork, artwork affects printing, printing must survive forming, and the finished structure must pass fit and cosmetic checks before it is packed for shipment. Late changes can therefore create more cost and delay than they would in a simple printed label project.
This guide explains the main stages from packaging brief to delivery. Exact machinery and sequence vary by structure and factory, but the buyer’s responsibilities remain consistent: define the product and market, approve the right samples, control artwork, and set measurable quality expectations.
1. Build a Manufacturing-Ready Brief
A useful brief includes the packed product, internal dimensions, fill weight, closure, insert, print coverage, finish, target quantity, ship-to location, launch date, sales channel, and applicable labeling or product-contact requirements. Photos and competitor references help, but they do not replace dimensions and functional requirements.
State which items are fixed and which are open to supplier recommendation. A tin manufacturer can suggest existing molds or alternative closures only when the product constraints and commercial priorities are clear.
2. Select an Existing Mold or Develop Tooling
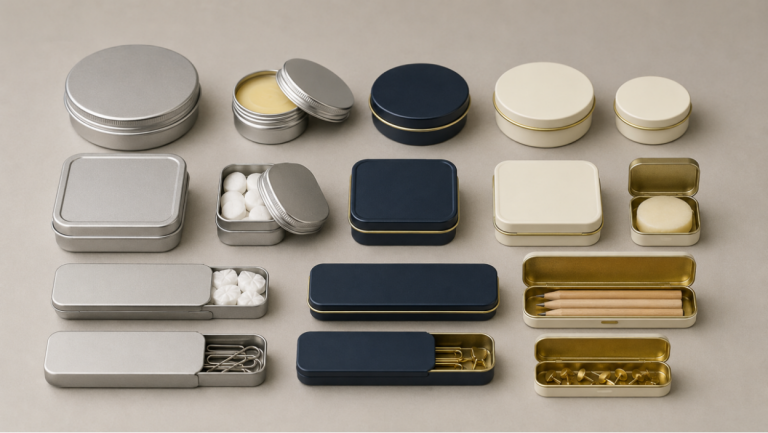
Existing tooling can shorten development and reduce upfront cost when the dimensions and lid meet the product need. New tooling is considered for unique shapes, exact fit, distinctive proportions, or volumes that justify the investment. The team should review internal usable dimensions, radii, lid engagement, beads, seams, and insert allowances before approval.
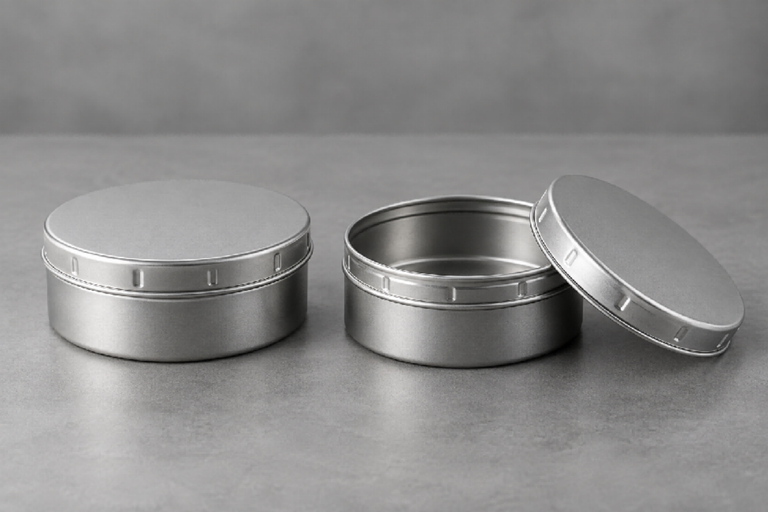
A simple undecorated fit sample is often the fastest way to find problems. Test product access, rattle, orientation, stacking, and outer-carton layout before final artwork begins. ShingWah’s custom tin types and shapes [Internal Link] provide starting points for this review.
3. Create the Dieline and Approve Artwork
Once the structure is stable, the supplier provides a dieline or artwork template. Designers must respect bleed, safe zones, seams, curls, hinges, windows, and areas that stretch during forming. Barcodes and small text need a physical-size check, not only screen review.
Color references should be explicit. CMYK, spot colors, metallic show-through, varnishes, and proofing methods produce different expectations. The custom printed tins design guide [Internal Link] explains how to prepare a cleaner file and proof.
4. Print, Coat, Cut, and Form the Tinplate
Decoration is applied before much of the forming work, so inks and coatings must tolerate the process. Deep draws and tight radii can distort artwork, which is why a decorated sample is important for complex designs.
| Stage | What happens | Buyer control point |
| Printing and coating | Graphics and protective finishes are applied to flat metal sheets | Approve color target, finish, and sample standard |
| Sheet cutting | Printed sheets are cut into body, lid, and base components | Confirm artwork imposition and orientation |
| Forming | Components are stamped, drawn, rolled, curled, beaded, or folded | Check dimensions, panel shape, and print distortion |
| Assembly | Bodies, lids, hinges, windows, or other components are joined | Check lid fit, hinge action, seams, and cleanliness |
| Packing | Finished tins are protected and packed into export cartons | Approve nesting, separators, carton quantity, and labels |
5. Inspect Function, Appearance, and Packing
Quality control should cover dimensions, lid fit, opening force, seam condition, print registration, color, finish, dents, scratches, contamination, insert fit, and carton protection. The inspection plan should define the sample method and acceptable limits rather than relying on the word “premium.”
Inspect the filled pack when possible. An empty tin may pass while the final product rattles, pushes against the lid, scuffs the coating, or shifts the center of gravity. Shipping tests should reflect the actual retail, pallet, or parcel channel.
- Keep an approved reference sample for color, structure, and cosmetic comparison.
- Define critical, major, and minor defects in plain language with photos where possible.
- Check carton markings, quantity, moisture protection, and pallet requirements.
- Record changes between sample approval and mass production.
Frequently Asked Questions
How long does custom tin manufacturing take?
Timing depends on mold availability, sample rounds, artwork approval, decoration, quantity, inspection, and freight. Build the schedule from required delivery backward and confirm milestones with the supplier.
Can brands order below the standard MOQ?
Some projects may be possible below a stated minimum, but feasibility and price depend on the structure, printing, setup, and production plan. Ask with complete specifications.
Why is a decorated sample necessary?
It shows color, finish, print distortion, seams, lid fit, and the interaction with the product and insert. A flat proof cannot validate those formed-pack details.
Conclusion
Reliable tin manufacturing is a controlled approval process. The strongest buyers lock product fit before artwork, use physical samples, define measurable quality, and protect the schedule with clear decisions and change control.
Learn more about ShingWah Tins manufacturing experience [Internal Link] or contact the team [Internal Link] with a complete brief for mold review, samples, and a production proposal.
Technical note: Product-contact, barrier, shelf-life, child-resistance, recyclability, regulatory, and performance claims must be verified for the exact packaging system and target market.

4 Comments
Comments are closed.