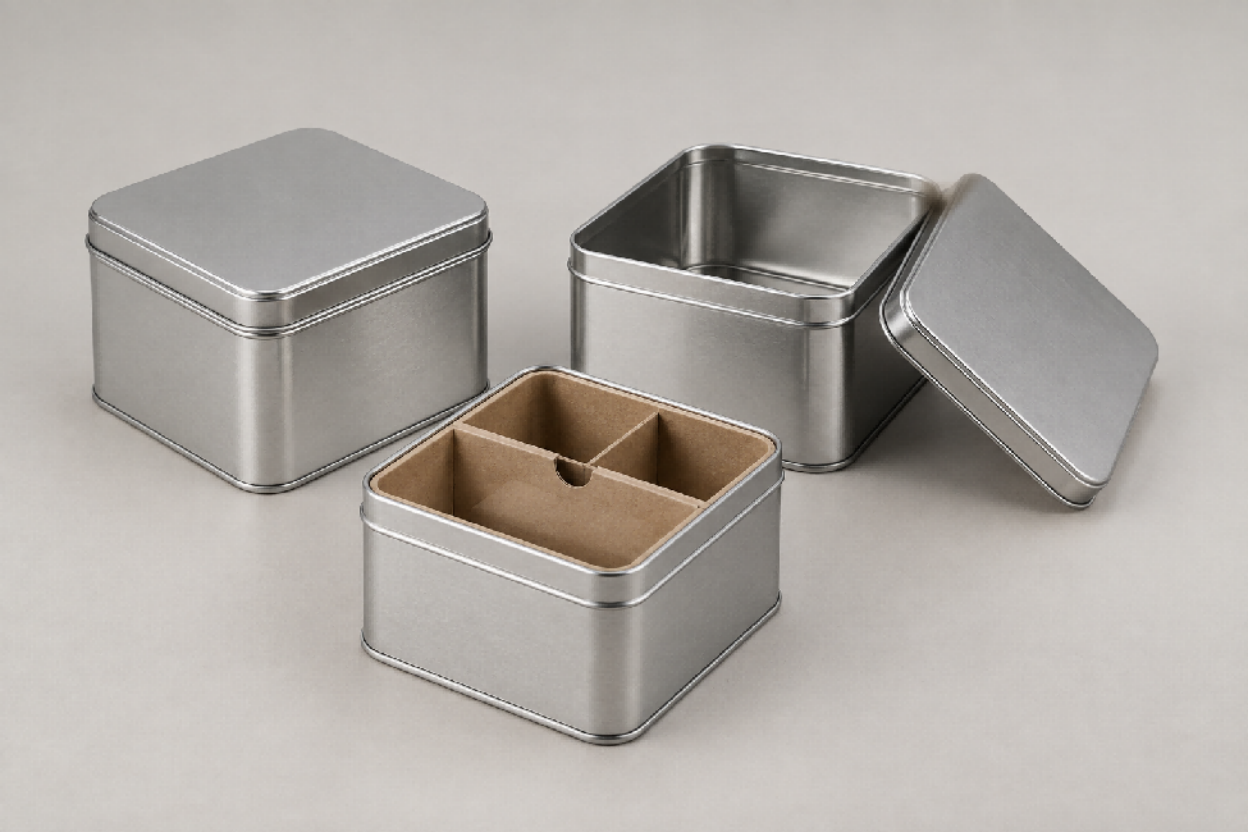
Square Tin Containers With Lids Specification Guide
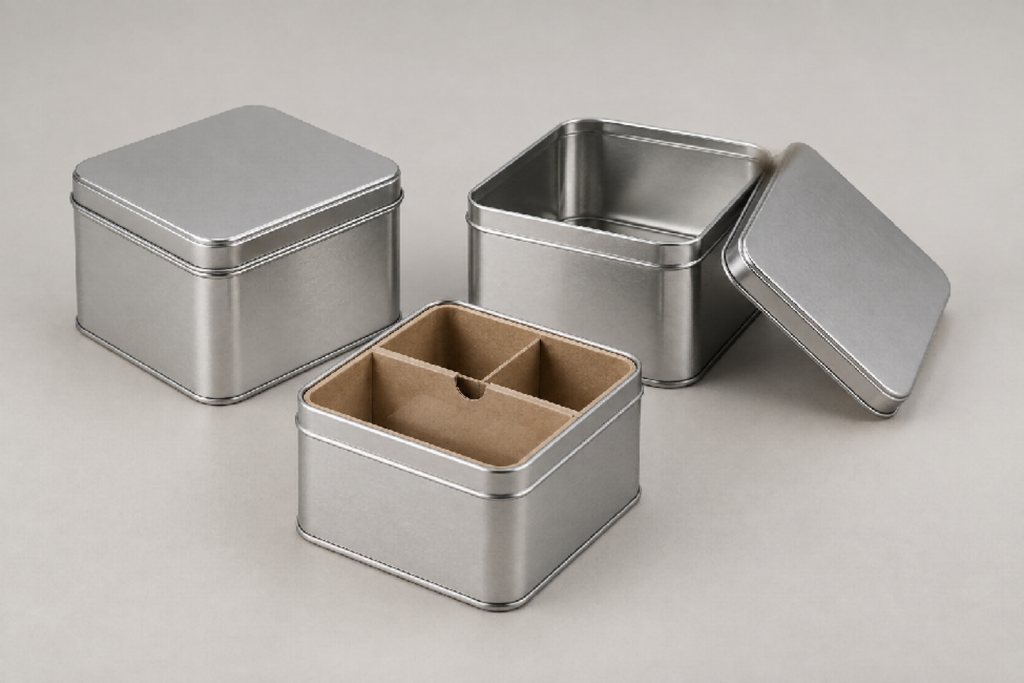
Square tin containers with lids create clear front panels, strong shelf blocks, and efficient-looking packs, but the outside silhouette is not a complete specification. Corner radii reduce usable space, lid engagement changes the opening feel, and an insert or inner pouch can take away more capacity than a catalog drawing suggests.
This guide is for packaging and sourcing teams that have already chosen a square format and now need a production-ready brief. The broader packaging shape guide compares round, square, and rectangular tins. Here, the focus is narrower: dimensions, closure fit, decoration, inserts, case packing, and sample approval for a square tin program.
Define the Product Envelope Before the Tin Size
Start with the packed product rather than a nominal tin size. Record maximum product length and width, stacked height, orientation, fill weight, protective wrap, leaflet, and the movement you can accept. For loose pieces, provide a representative fill sample and target count. For a rigid item, mark the surfaces that must not touch metal or carry compression.
Separate required internal clearance from optional display space. A premium reveal may need finger access around an insert, while a tightly packed refill pouch may only need insertion clearance. These are different design goals and should not be hidden inside one outside-dimension request.
Translate Outside Size Into Usable Internal Space
Ask the supplier to identify whether dimensions are outside, body, opening, or usable internal measurements. The curl, shoulder, lid overlap, base profile, and corner radius all change the space the product can occupy. Confirm the smallest usable length, width, and height at the tightest points, not only the center of the body.
Use a dimensioned drawing and a physical fit sample together. Drawings help control intent; samples reveal how a real pouch, insert, or product behaves when loaded. If an existing mold is proposed, compare your product against the actual production-intent sample before approving artwork or cartons.
Choose the Lid for Access and Retention
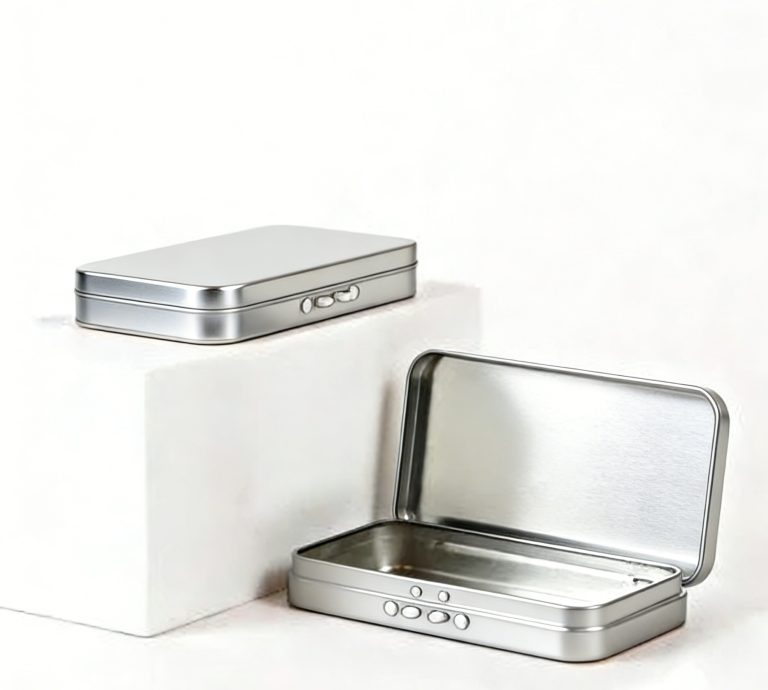
Square tins can use removable slip lids, hinged lids, window lids, or other fitted closures. Select the mechanism by user behavior: how often the pack opens, whether the lid may be set down, how the package is carried, and how much opening force is acceptable. A snug lid can improve handling, but it does not establish an airtight, tamper-evident, or child-resistant claim.
Use the tin lid types guide to compare general closure families, then test the chosen square format after printing, coating, and insert assembly. Corner alignment and side-wall flatness can affect fit differently from a round tin.
| Specification item | What the buyer should define | How to verify |
| Usable internal size | Product envelope plus loading clearance | Drawing and filled fit sample |
| Corner geometry | Minimum usable radius and protected zones | Section view and insert prototype |
| Lid performance | Opening feel, retention, and reclosure cycles | Decorated production-intent sample |
| Insert control | Material, cavities, finger access, and tolerance | Drop, rattle, and removal checks |
| Case pack | Orientation, count, dividers, and gross weight | Packed shipping-carton trial |
Design Around Corners and Formed Edges
Square panels give artwork a clear front, but formed corners and lid edges are not flat print real estate. Keep small type, barcodes, fine borders, and registration-critical graphics away from radii, curls, beads, and hinge hardware. Define which panel faces the shopper and which direction the lid artwork must read when the tin is displayed.
Prepare artwork on the approved supplier dieline and follow the staged proofing workflow in the custom printed tins guide. A flat digital proof checks content and color intent; it cannot prove how graphics will register after metal forming.
Engineer the Insert With the Tin
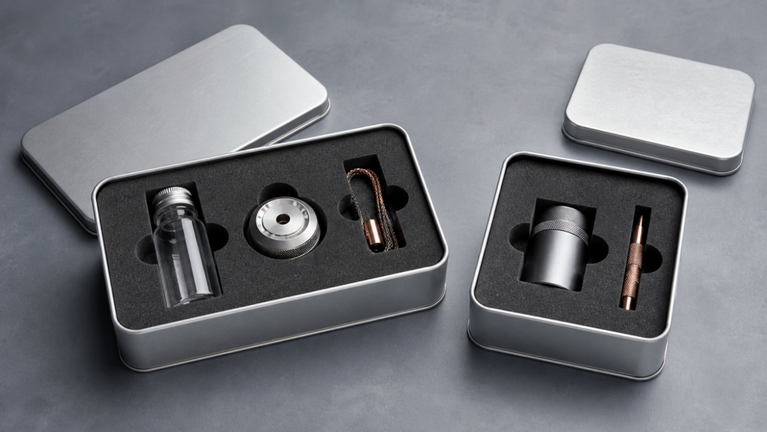
An EVA, paperboard, pulp, plastic, or formed-paper insert should be designed from the actual internal geometry. Allow for wall taper, corner radii, lid intrusion, and production tolerance. Specify whether the insert controls presentation, shock, rattle, abrasion, or item separation, because each function changes material and clearance choices.
Prototype the insert and tin as one assembly. Check product removal, finger access, lid closure, edge pressure, and the appearance after transport. If the insert is printed or wrapped, include its thickness in the fit calculation.
Plan Cartons and Pallets Before Tooling
A square footprint can pack efficiently, but the result depends on corner radius, lid projection, divider thickness, carton strength, and orientation. Build a case-pack drawing before freezing the tin. Compare units per carton, gross weight, voids, stacking direction, and protection against scuffing or denting. A small change to the tin can change carton count and freight economics.
Approve Samples in a Controlled Sequence
Use an undecorated fit sample first, a decorated production-intent sample second, and a packed shipping trial before mass production. Record the approved drawing revision, sample ID, closure feel, cosmetic limits, insert fit, and case-pack result. The tin box manufacturing process explains how design, tooling, printing, forming, and quality approval depend on one another.
Square Tin Request for Quotation Checklist
Send every supplier the same controlled brief:
- Product dimensions, fill weight, orientation, inner wrap, insert, and acceptable movement.
- Required usable internal dimensions, preferred outside-size range, corner constraints, and target capacity.
- Lid type, desired opening and retention feel, reclosure cycles, display orientation, and carrying conditions.
- Artwork panels, finishes, barcode and legal-copy zones, color standard, and proofing stages.
- Quantity, existing-mold preference, tooling ownership, sample stages, case pack, ship-to location, and launch date.
Frequently Asked Questions
Are square tins always more space efficient than round tins?
Not automatically. The final result depends on corner radii, lid projection, dividers, carton dimensions, and packing orientation. Compare the complete case pack, not only the tin footprint.
Is the outside dimension enough for an RFQ?
No. Suppliers also need the product envelope, usable internal clearance, lid and insert requirements, artwork orientation, quantity, and sample expectations.
Can an insert be added after the tin is selected?
It can, but late insert design often reduces clearance or interferes with the lid. Designing both together gives better control of fit, presentation, and removal.
Does a tight square lid make the package airtight?
No. Opening feel and lid retention do not prove barrier performance. Any airtight or shelf-life claim needs an appropriate package design and product-specific validation.
Conclusion
A strong square-tin specification connects the product envelope to usable internal space, lid behavior, corner-safe artwork, insert tolerances, and case packing. Approving those items together prevents a visually attractive tin from becoming difficult to load, open, ship, or display.
Review available square tin containers and contact ShingWah Tins with the product sample, target dimensions, quantity, artwork, insert, and delivery plan to start a controlled fit and sampling discussion.
Technical note: Dimensions, images, and closure descriptions are planning aids. Confirm the final production drawing, physical sample, materials, coatings, pack performance, and market-specific requirements before ordering.

![Aluminum jars and tin containers are often selected for eco packaging because they are durable, highly visible as metal, and compatible with recycling systems in many markets. Those strengths are real, but a responsible design still needs to minimize unnecessary material, protect the product, explain mixed components, and avoid promising that every customer will reuse or recycle the pack. This guide turns sustainability goals into practical packaging decisions. It focuses on lightweighting, reuse, refill concepts, closures, decoration, transport, and market-specific end-of-life communication rather than treating material choice as the only environmental question. Begin with a Clear Environmental Objective Choose one or two priorities that can be designed and measured: reduce pack mass, improve case utilization, remove an unnecessary insert, support a refill format, increase product protection, or make components easier to separate. A vague goal such as “make it greener” is difficult to translate into specifications. Keep the product function fixed while comparing options. A lighter container that increases damage, leakage, or spoilage may not improve the overall result. Lightweight the Complete Pack Aluminum’s low density can support lightweight small jars and tins, while tinplate’s strength and shape range can deliver efficient walls and rigid gift formats. The useful metric is the mass of the complete pack that performs the required job, including lid, liner, insert, label, sleeve, and shipping protection. Reduce headspace and oversizing before reducing wall strength. Optimized dimensions can improve units per carton and pallet while maintaining product fit. Any material or gauge change should be validated through forming, filling, and distribution tests. Design Reuse That Customers Can Believe Reuse should be treated as a program or a credible behavior, not a guaranteed outcome. If the brand offers refills, define how customers obtain them, how the container is cleaned, and how long the closure remains functional. Reuse design choice Why it helps What to avoid Useful size and proportion Fits common storage or travel needs Novel dimensions with no plausible second use Durable closure Supports repeated opening and keeps components together Loose lids or fragile decorative parts Evergreen graphics Makes the container acceptable after the product is gone Highly dated copy when long-term reuse is claimed Easy cleaning guidance Helps safe and realistic second use Unclear food or cosmetic reuse claims Refill compatibility Can reduce replacement packaging in a controlled system Refill claims without an available refill route Make Mixed Components Easy to Understand Liners, seals, windows, foam inserts, labels, and coatings may be necessary for product performance. Avoid removing a functional barrier only to create product waste. Instead, minimize the component, select it carefully, and make separation instructions clear where local recycling systems accept the materials. The comparison of tin vs aluminum packaging [Internal Link] provides a broader framework for market-specific recyclability, product protection, and evidence-based claims. Use Decoration Efficiently Metallic surfaces can reduce the need for simulated foil effects when the artwork intentionally reveals the substrate. Direct printing can integrate graphics with the pack; labels can support versioning or shorter runs. The lowest-impact option depends on production quantity, waste, changeovers, and the final design. Keep graphics useful after purchase if reuse is part of the strategy. The custom printed tins guide [Internal Link] helps organize artwork, safe zones, color, and proofing for formed metal packaging. Document Claims and Validate the Pack A practical eco friendly custom packaging brief should include measurable requirements and the evidence needed to support public claims. Keep that documentation with the final approved specification. •Record actual material and component weights for the approved design. •Verify supplier declarations for material, coatings, and any recycled-content claim. •Test product compatibility, closure, leakage or migration, filled-pack transit, and shelf life as applicable. •Check local recycling guidance in each target market before printing disposal claims. •Explain how to separate windows, liners, seals, or inserts when relevant. •Review sustainability language when the structure, supplier, or destination changes. Frequently Asked Questions Are aluminum jars eco friendly? They can support lightweight, reusable, and recyclable packaging designs, but the overall result depends on source, mass, product protection, transport, reuse, and local recycling. Should a brand choose refillable packaging? Refill works when there is a convenient refill supply, a durable container, clear cleaning and use guidance, and evidence that customers participate. A refillable-looking pack alone is not a refill system. Can metal packaging include plastic components? Yes when they serve a necessary function. Minimize them, choose compatible designs, and provide realistic separation and disposal guidance for target markets. Conclusion Aluminum jars and tin containers can support credible eco-packaging strategies when the brand optimizes the complete pack, protects the product, designs realistic reuse, and communicates end of life with market-specific evidence. For material, closure, and sample recommendations, contact ShingWah Tins [Internal Link] with the product, quantity, market, decoration, channel, and measurable sustainability goals. Technical note: Product-contact, barrier, shelf-life, child-resistance, recyclability, regulatory, and performance claims must be verified for the exact packaging system and target market.](https://shingwahtins.com/wp-content/uploads/2026/05/image-1-767x432.png)